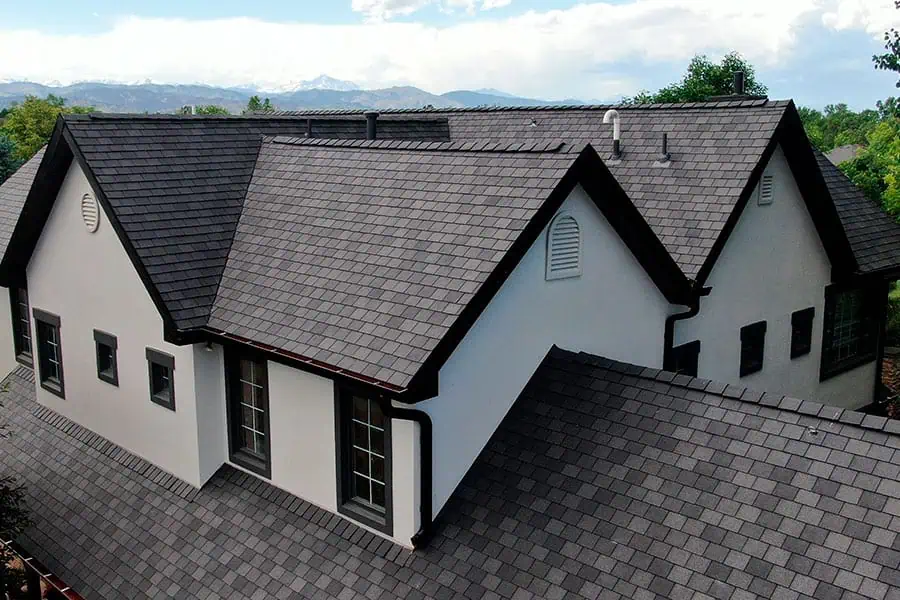
Roof Replacement In Florida

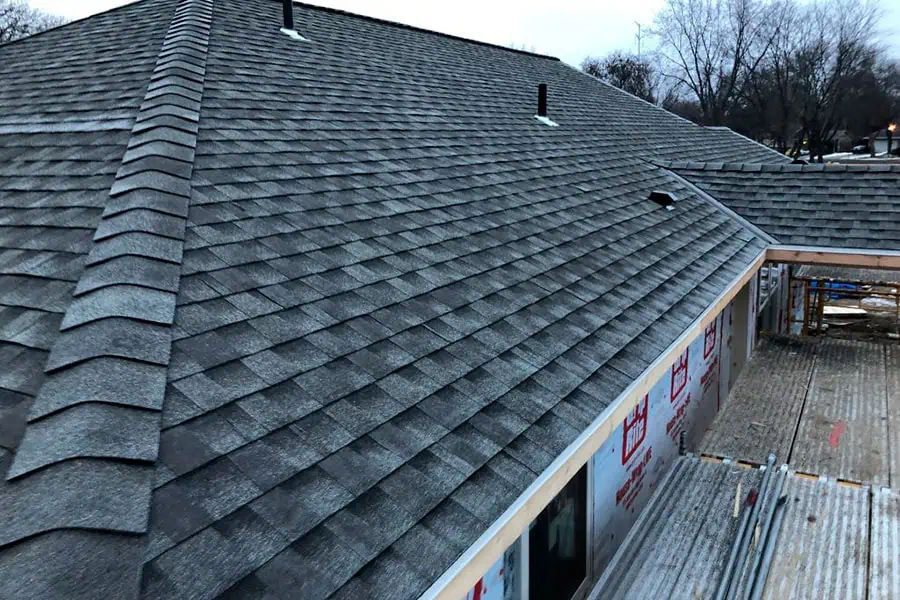
Roof Replacement Process
Is the process of removing an existing roof and installing a new one.
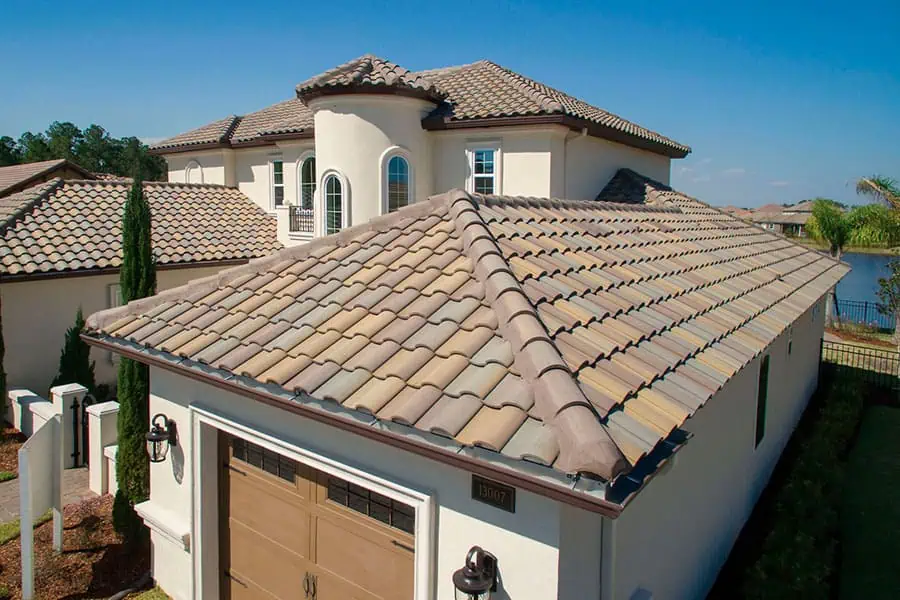
Roof Replacement Cost
Roof replacement involves removing an existing roof and installing a new one.
DIY Roof Replacement
DIY roof replacement involves homeowners undertaking the task of replacing their roof without professional help.
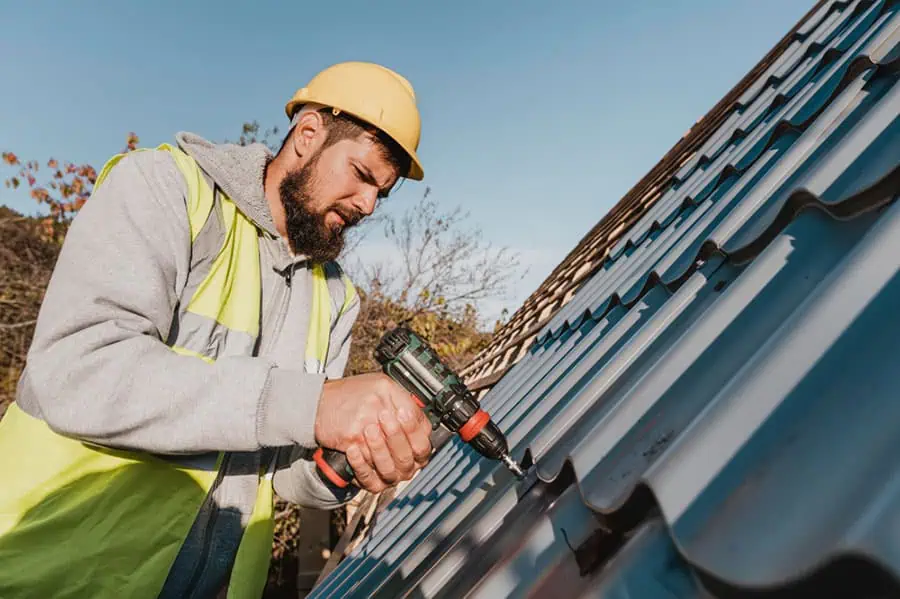
Roof Replacement Contractor
A roof replacement contractor is a professional who specializes in the removal of old roofing materials and the installation of new roofing systems.
Roof Replacement Insurances
Roof replacement insurance is a component of homeowners insurance that covers the cost of repairing or replacing a roof damaged by specific perils.
Roof Replacement Financing
Roof replacement is a significant financial investment for homeowners. Given the high costs associated with roof replacement.

QUICK INQUIRY
Are You Looking for Roof Replacement Service?
If you are looking for a roof replacement service, it is essential to find a reliable and experienced contractor who can provide high-quality workmanship and materials. A roof replacement is a significant investment that protects your home from the elements and enhances its overall value and appearance.